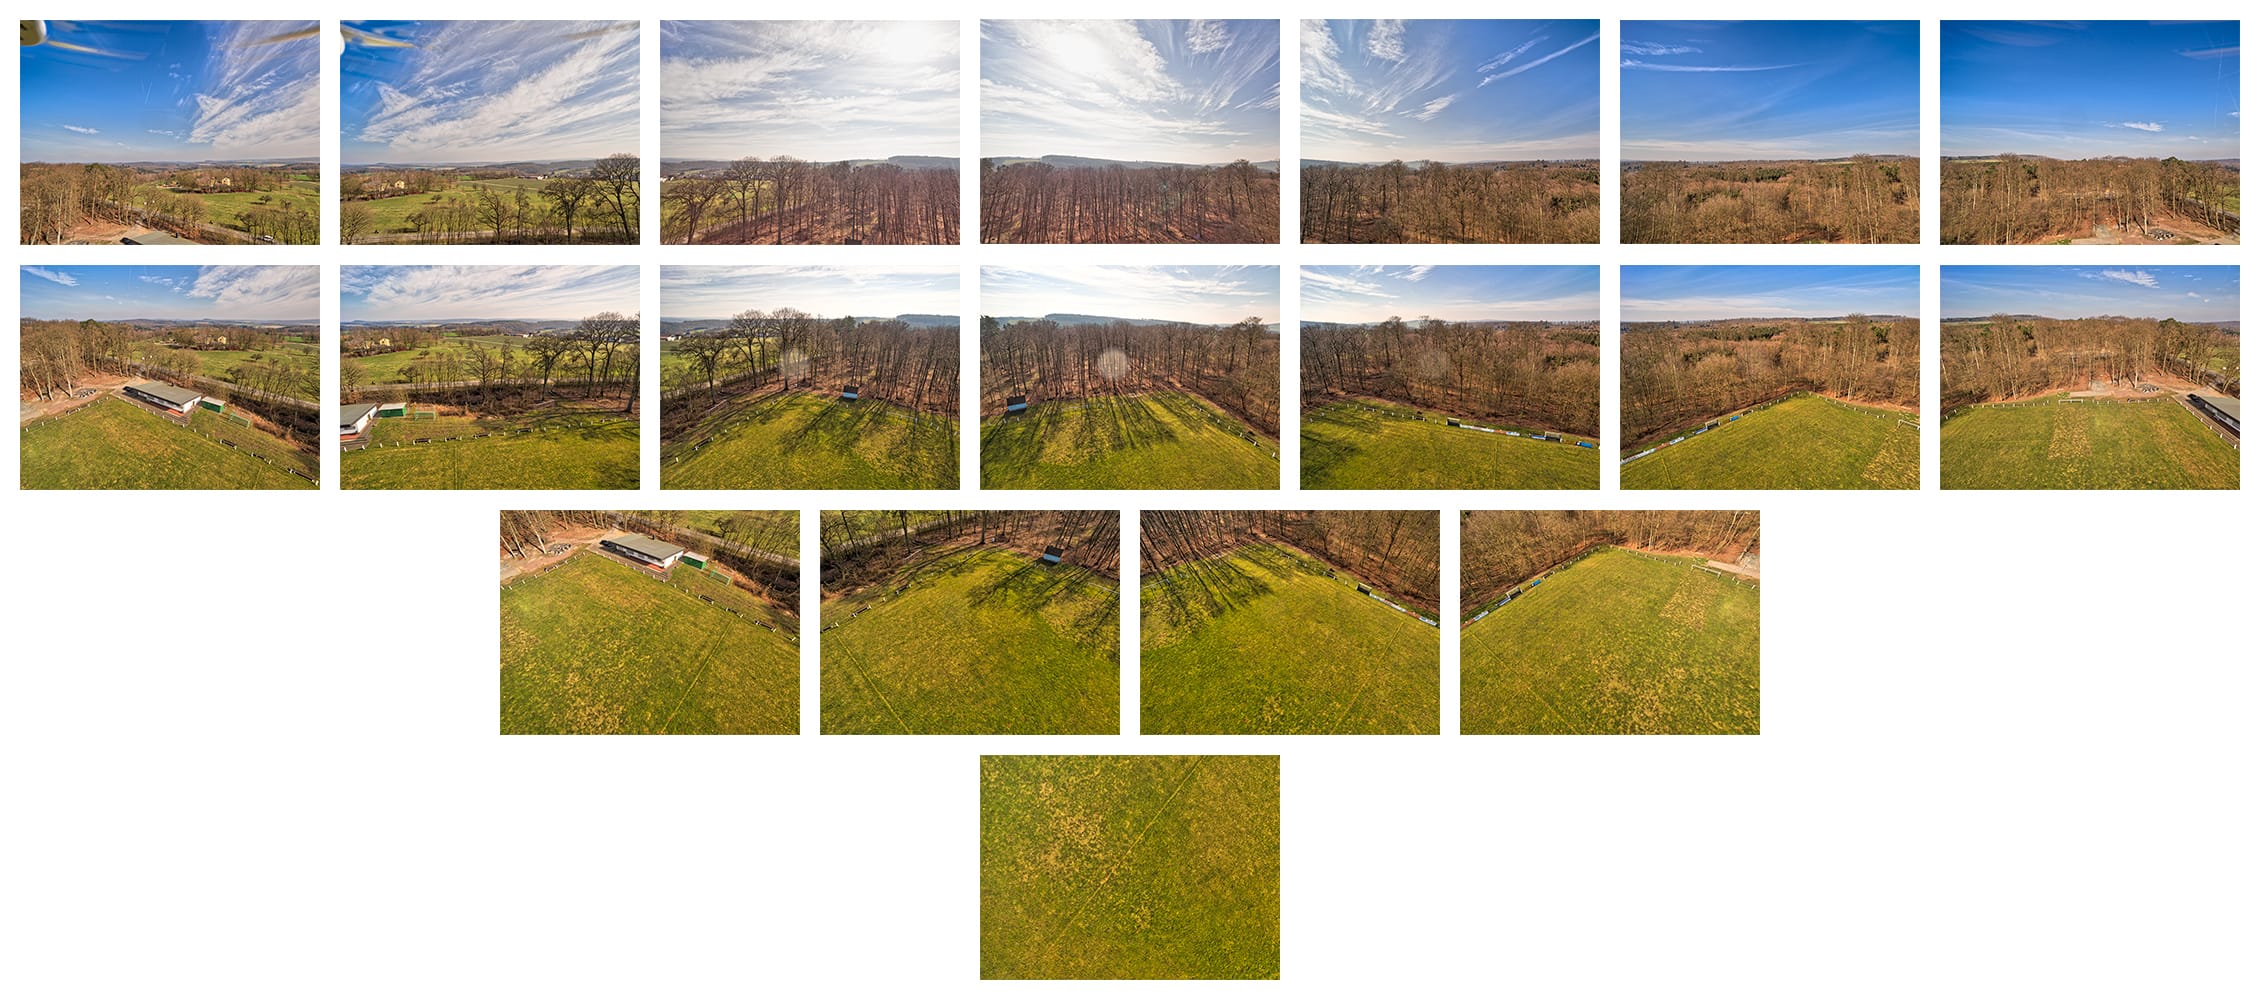
This document describes how to shoot the images for an aerial panorama with RCPano, the Phantom or Mavic series, Inspire or Spark and the OSMO.
Prepare your copter for the flight as usual, calibrate the compass and record the Home Point using the DJI Go App. Then fly to the location you want to take the photos at.
Fro security reasons, the homepoint must be in a 100 meter range from the pilot. That doesn't mean you can't fly any further if you're allowed to.
Although it's of course possible to fly using RCPano, we recommend flying with the DJI Go App, because it contains more useful information for flying the quadrocopter than RCPano.
After you have reached your shooting point, switch to the RCPano App. Wait some time until it has connected to your Drone and is showing the Live Video Stream.
Check your camera mode and white balance and start shooting.
First start
DJI requires apps built with their SDK to register with a DJI server to be activated and operational.
For this reason, you must be connected to the internet when first running the app after installation.
This process is required for safety reasons and guarantees that only apps of developers known to DJI are able to programmatically navigate the quadrocopter.
Once activated, the activation information is cached on your device so you do not have to be online every time you start RCPano until you re-install it.
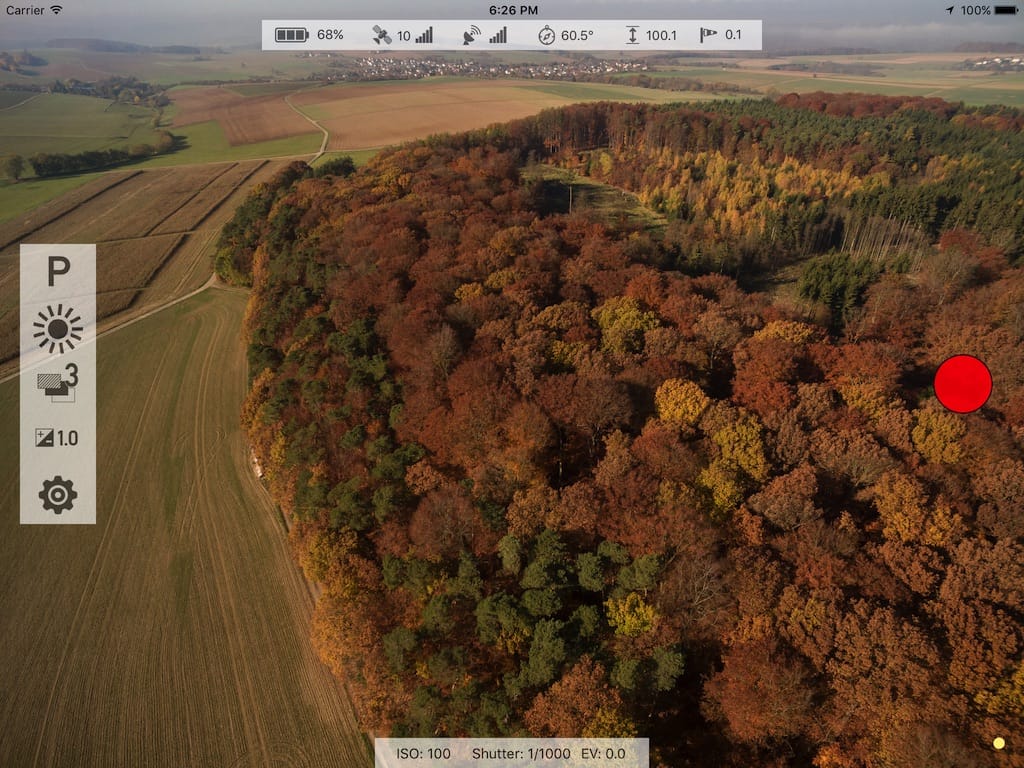
In the lower right corner of the screen the activation status is shown by a colored dot:
- A yellow dot indicates that the app is determining the status.
- When a green dot is shown, either no activation is necessary or the app has already been activated.
- A red dot indicates that there was an error during the activation or that you have to log in with your DJI account.
The controls

The status bar on top of the screen shows (from left to right) battery level, number of GPS satellites locked and the GPS signal level, signal status between remote controller and the aircraft, the current heading (zero degrees is north, 90 degrees east) and height above ground. Tap on the compass to switch between north and the sun position as reference.
 The value besides the rightmost symbol ranges from 0.1 to 1.0 and shows the amount of wind detected during the creation of the panorama images.
(Caution: This is not an official wind strength). Low numbers indicate that there is not much wind.
With every image it takes, RCPano restarts with a wind setting of 0.1 to achieve best results.

The status bar on the bottom of the screen shows the current camera parameters: ISO, shutter speed and exposure value. Tap on the status bar to change the exposure settings during the shot. While you are changing exposure settings, the creation of the panorama is paused and the copter hovers in place.
 The left side of the screen contains the part where the settings of the app can be configured.
First you will find the camera modes Program (P), Shutter Priority (TV) and Manual (M).
Aircrafts supporting adjustable aperture will also have the Aperture Priority mode (AV).
Depending on the mode the camera is currently operating in, different exposure parameters can be changed using the right scroll wheel on the remote controller.
In Program Mode the exposure value (EV) can be changed, in Shutter / TV mode the shutter speed, in Aperture / AV mode the aperture and in Manual Mode the ISO value and shutter speed.
To switch between changeable parameters, push the right scroll wheel on the remote as you would do in the DJI Go App.
Next setting to be configured is the white balance. You can choose from Sunny, Cloudy, Indoor, Incandescent and Fluorescent light and of course Auto White Balance, although we do not recommend to use automatic white balance when shooting a panorama.
The white balance setting is followed by the AEB picture count and EV values for AEB pictures, which are important for the creation of HDR images . You can choose from 1 picture (no AEB), 3 and 5 (except Spark) pictures. When shooting more than one picture you can choose an exposure difference between ±0.3 and ±3.0 EV. With an EV value of ±0.7 the firmware of the drone handles the shooting of the images. With all other values RCPano takes control over the shooting, which will take more time. More information on the enhanced AEB can be found here.
After tapping the gear on the bottom the settings of the app can be configured: Number of rows and columns of images, initial camera pitch upwards and other settings. The number of columns can be configured in three different ways: The number for the first row, the second and remaining rows and the optimization mode for the third and following rows. With optimization mode turned on RCPano calculates the images necessary for the second and following rows, which will result in less images and work in the post and less shooting time required while preserving enough overlapping space for successful stitching of the images:

Single row panorama

If you want to shoot only one row, move the slider for the number of rows in the program settings to one. The slider for the remaining rows will be deactivated. When shooting a single row panorama, the gimbal will not be positioned prior to starting the shooting but remain in the current position. Optimization of the column count is not available in this mode.
Capture the zenith with the OSMO
Most aerial panoramas are lacking the sky, because almost no quadrocopter is able of moving the camera to the top. DJI currently has no model with this feature.
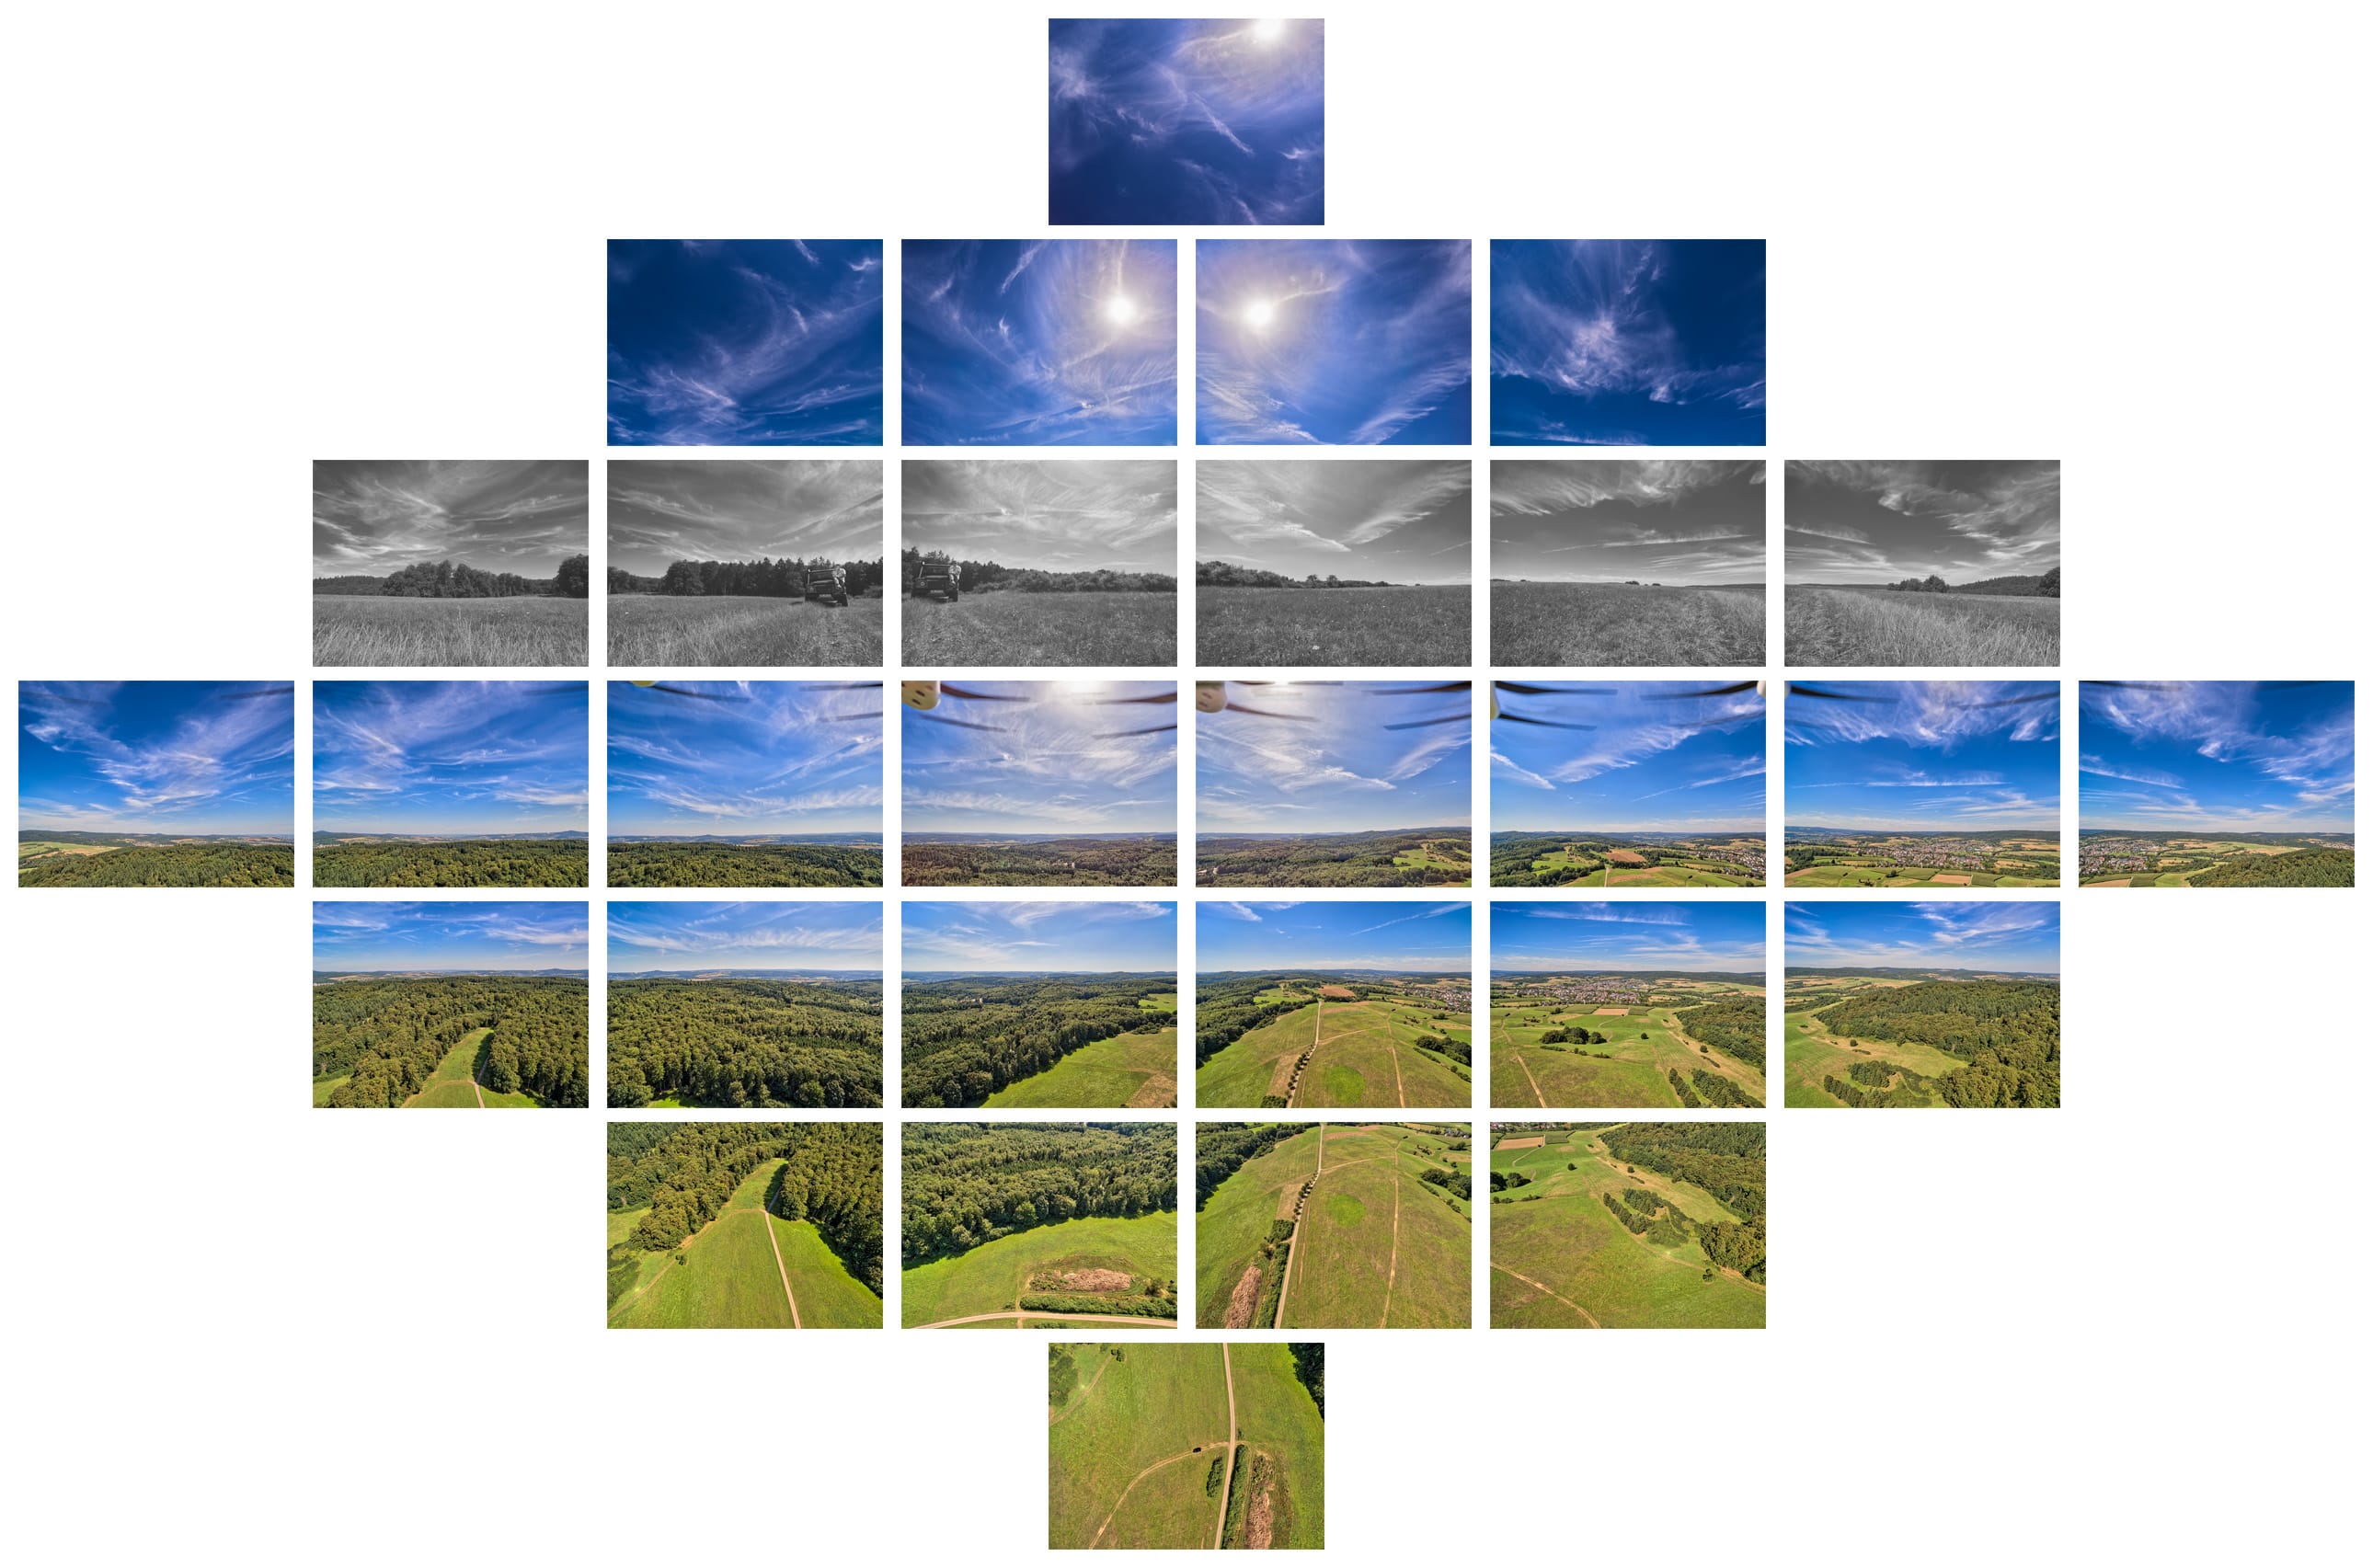
RCPano is able to drive the DJI OSMO which can take the images of the sky the same way the drone captures the remaining images.
To accomplish this the OSMO is placed roughly below the position where the drone will take the pictures. Using RCPano you start to take the pictures on both devices (ideally around the same time).
The result will look like this:

The pictures of the horizon taken by the OSMO (in our example desaturated) are also loaded into the stitching software and are used to correctly match the sky. Hard to believe: In the example PTGui has found control points in the trees. After the matching of the images the OSMO pictures of the horizon are deactivated, they are not necessary any more. The complete panorama can be seen on the samples page.
Interaction with the screen
Several functions can be accessed by tapping on the screen of your device:
Single tap during shooting toggles the display of the status values.
Double tap when not shooting resets the gimbal to its initial position.
During shooting double tapping has no effect. If you are using the OSMO, you can move the camera around before shooting by tapping and holding until the device vibrates.
With your finger still on the screen, you can move the camera by moving your finger.
Autofocus
If the camera of the drone has an autofocus feature, you can focus by tapping on the screen, if autofocus is enabled in the DJI GO app. A beep indicates that the focus has been set, another beep indicates an error during focussing. During the creation of the panorama RCPano takes care of the focussing, if autofocus has been enabled in the DJI GO app and the option Re-focus every image when auto focus is on has been activated in the program settings If the autofocus is turned off in the DJI GO app, RCPano will not be able to focus. Tapping on the screen will not work in this case. Shooting
After you have set the parameters and exposure, press the red button on the right side to start shooting the panorama. During the shooting the shape of the button changes to a red square, indicating that tapping it will stop or pause the operation. When you press the button, an alert is shown where you can choose to cancel or resume shooting. The number of the current picture and total pictures to take is shown inside the square. After all pictures are taken, a message is shown on screen and you can fly your drone home.
After shooting a Papywizard XML file is created which makes stitching much easier.
 In case of an error
If an app wants to control a DJI multicopter, the device has to be set to a special mode in which it is controllable by the app ("Joystick" mode). In case of an error RCPano will try to switch your quadrocopter back to standard mode where you can fly it as you normally would before it terminates.
If this does not work for any reason or if your handheld device is damaged and your drone does not seem to be controllable any more: keep calm. Set the remote control's mode switch to another mode, wait a while and try to control the drone. If this works, the drone is in normal mode again and you can fly home.
If this does not work, press the Home Button on the remote to initiate the Return To Home procedure. This is why RCPano insists that the homepoint is close to the pilot.
If your drone is still not responding, you must turn off the remote control. It hurts, we know that. But the copter will hover and then climb to the RTH height (which you hopefully have set high enough). After the copter starts to rise, turn the remote control back on. When the remote is connected, cancel RTH and go home normally or let the RTH procedure finish.
Avoid making phone calls using your cell phone during operation!
 Firmware
Always make sure the firmware of your drone is the newest version. With the latest firmware your aircraft will work seamlessly with current software. Keep in mind that not only the firmware of the drone has to be updated, but also the firmware of the remote controller and battery. If you have more than one battery for your aircraft, the update has to be repeated for every battery to avoid inconsistent firmware among the components.
Firmware versions less than 1.9.60 with the Phantom 3: There is an issue with DJI firmware versions less than 1.9.60 that prevents the aircraft from returning to home (RTH) in case of RC signal loss when a third-party app like RCPano is connected to the drone via the DJI SDK. RTH will be activated when the critical battery level configured in the DJI GO App is reached, but this may result in the loss of your aircraft if the home location is too distant. If you are using a firmware version less than 1.9.60, we strongly recommend that you operate the aircraft at a distance where it can reach the home point with critical battery level.
Firmware Versionen less 1.00.0500 with the Spark: Eventually the Spark does not reach the shooting point in due time or it flies in circles around the shooting point, both after a manual correction of the course or a strong wind gust. This behavior is improved with firmware 1.00.0500.
Firmware versions less than 1.03.1000 with the Mavic Pro: The SDK used by RCPano is only released for firmware versions from 1.03.1000 onward. Make sure that your copter has at least this firmware version installed. When upgrading the firmware make sure that the copter, remote control AND batteries are updated!


